How to Season a Cast Iron Tawa at Home, Step by Step
If you have just bought an iron tawa, the first thing you will notice is the advice. Everyone has a method. Mustard oil, onion rubbing, bonfire, oven, a night of rest. The good news is that seasoning is simpler than the internet makes it sound. You need a little oil, some heat and a bit of patience.
This guide walks you through it step by step, in the order you would actually do it in your kitchen.
In This Guide
What Seasoning Actually Is
Seasoning is a thin layer of cooking oil baked onto the iron until it hardens into a smooth, dark coating. It is not paint and it is not a chemical coating. With every round of heating, the layer gets a little stronger. That coating is what helps food release and keeps rust away.
Do You Need to Season a Pre-Seasoned Tawa?
A pre-seasoned tawa already has a base layer applied at the factory, so you can cook on it straight away after a wash. Even so, adding two or three layers of your own in the first week is worth the 15 minutes. It builds the coating faster and the first dosas and rotis come off much easier.
What You Need
- Your cast iron tawa, washed and dried
- A little cooking oil with a high smoke point, such as refined groundnut, rice bran or sunflower oil
- A clean cotton cloth or kitchen paper
- A gas stove or an oven
Step by Step on the Stove
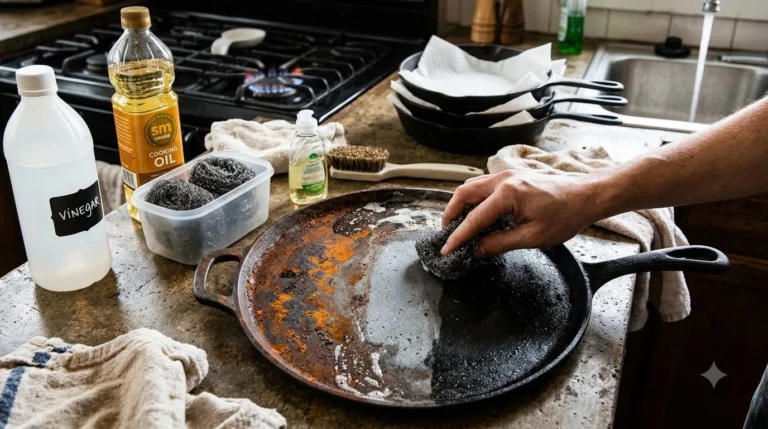
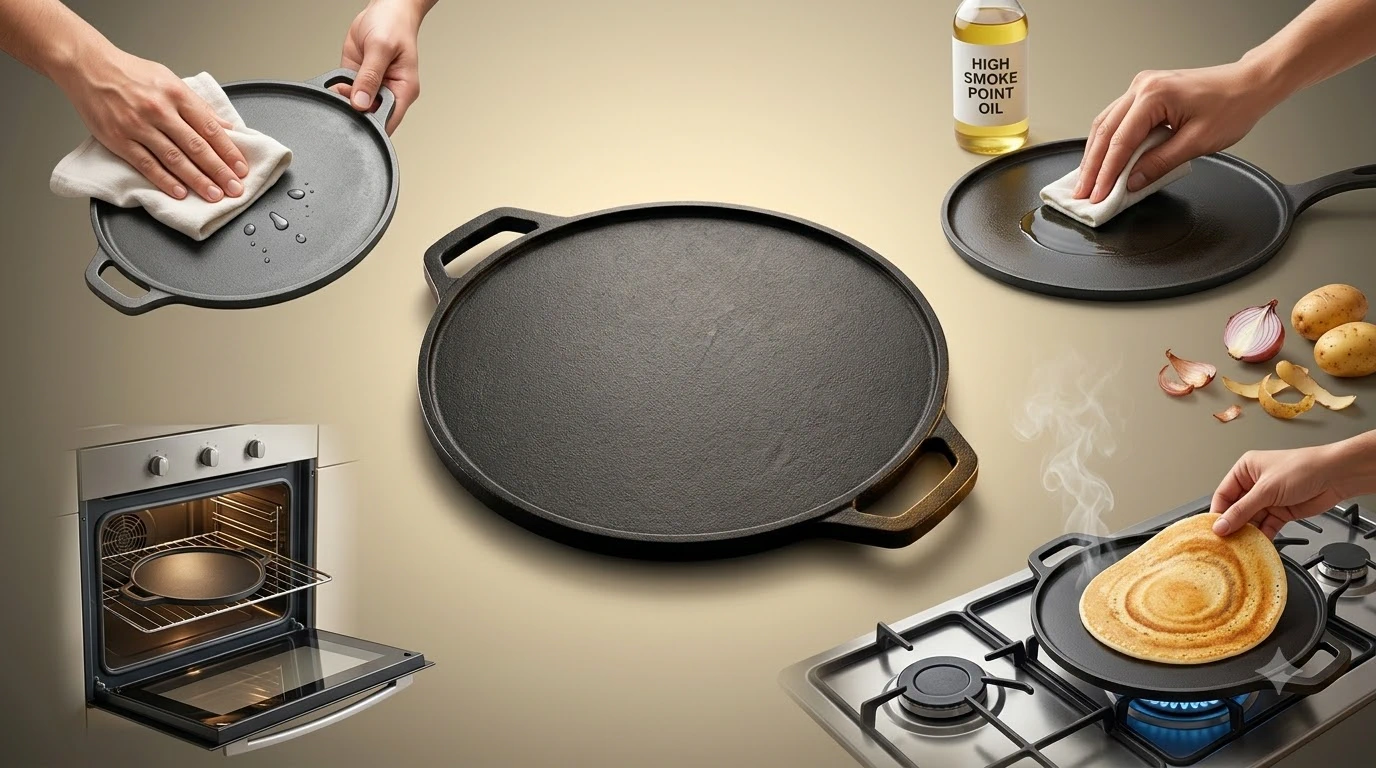
- Wash it. Use warm water and a soft scrub. A drop of mild dish soap is fine on a new tawa. The old rule of never using soap dates back to harsh lye soaps.
- Dry it completely. Wipe with a towel, then put it on a low flame for two minutes until every bit of water is gone.
- Add oil. Put a few drops on the tawa and rub it over every surface, including the back and the handle.
- Wipe it off. Now wipe the oil off as if you made a mistake. The tawa should look almost dry. A thick layer turns sticky and patchy, a thin one turns hard and smooth.
- Heat it. Put the tawa on a medium flame. It will start to smoke lightly. Keep it there for 10 to 15 minutes, then switch off.
- Let it cool on its own. Do not pour water on a hot tawa.
- Repeat the oil, wipe and heat steps two or three times. The surface will slowly turn from grey to a deeper brown or black.
Oven Method
If you have an oven, rub a very thin layer of oil on the whole tawa and wipe off the extra. Place it upside down on the middle rack, with a tray below to catch drips, and bake at about 200 to 230 degrees C for an hour. Let it cool inside the oven. Repeat once or twice if you like.
The Easiest Way: Just Cook
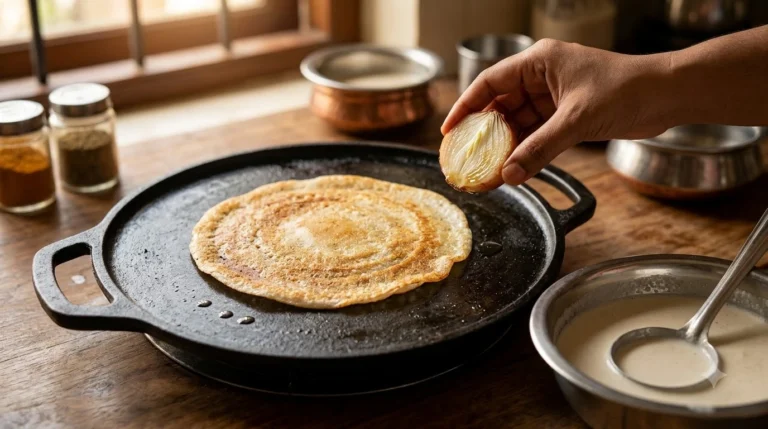
Honestly, regular cooking is the best seasoning there is. Shallow fry some onions or potato peels in a little oil for ten minutes, or make a few rotis with a thin film of oil. Each time you cook with a little fat, you add to the coating.
Common Mistakes to Avoid
- Too much oil. It leaves a sticky, blotchy surface. Always wipe it back.
- Soaking the tawa in water or leaving it wet. Iron rusts fast when damp.
- Cooking sour dishes in the first week. Tomato and tamarind can strip a young coating. Start with dosa, roti and dry sabzi.
- Using the dishwasher. It removes the seasoning completely.
- Heating on high flame from cold. Warm it up gradually.
Daily Care in Under a Minute
After cooking, wash with hot water and a soft brush, dry it on the flame for a few seconds and wipe a few drops of oil over the surface. That is the whole routine. If you cook on it often, it will only get better with time.
Looking for a tawa that is ready to go? Browse our dosa tawas and roti tawas. Having trouble with sticking dosas? Read why dosa sticks and how to fix it.
Shop Dosa Tawas →
Keep reading
How to Clean and Care for Triply Stainless Steel Cookware
Easy ways to clean triply stainless steel cookware, remove burnt food and stains, and stop food from sticking.
Read the story
Why Does Dosa Stick to the Tawa? 7 Causes and Easy Fixes
The seven most common reasons a dosa sticks to the tawa, a simple water drop test and fixes that work on cast iron.
Read the story